
Confused is that your toilet seat does not have the usual lower bolts to tighten it? If you need instructions, then this article has some good tips on how to fix a loose toilet seat with no access. well, then your toilet seat can be unique in construction, so a special program is needed to secure it with the rest of the toilet.
So you notice that your toilet seat is a little loose lately and you want to screw it back into place. But you have a problem: you can not find the usual bolt under it. disassembled, you still can not find a way out. The good time has passed, here are the necessary tools and appropriate technology that will provide you with a solution, how to fix a loose toilet seat with no access the bottom.
You May Like: How to Drain a Toilet For Cleaning – Tips and Tricks That Might Help You
[wp_ad_camp_1]
Most models of toilet seats use simple holes as the lower access is connected to the toilet. As a rule, the hole is where you lock the toilet in the seat with screws and bolts. But there are still other types of seats that use slightly different structural holes and ways of connecting seats, but do not worry, you can solve this dilemma yourself. So first let’s see what you might want to have here.
Oh, one more important thing to do, check the toilet guarantee and see what conditions can be invalid. Fixation of the toilet seat may sometimes require you to temporarily change the appearance of the toilet (in rare cases – permanent). And the toilet function remains the same, which can cancel the toilet order, so be attentive.
Contents
Necessary tools and gears you need to work
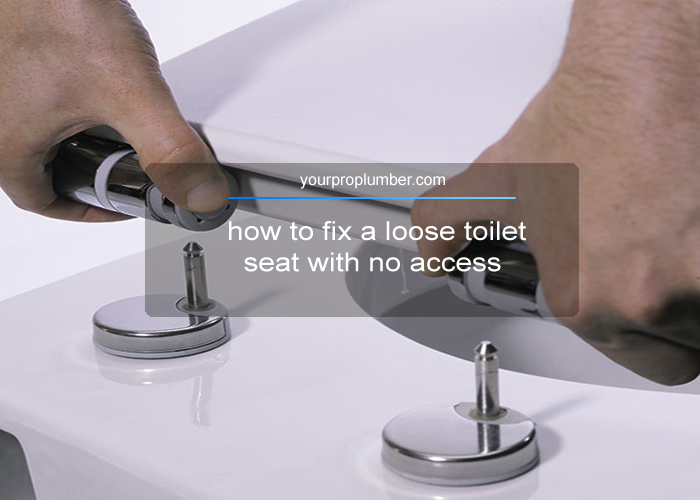
You do not need anything specialized here, all you need is a wrench, a screwdriver, a pair of pliers and a lever tool, preferably a flat gear or something that does not damage the seat too much and gives you an ideal lever handle. Although it is not mandatory, wearing protective accessories such as glasses and gloves is not a bad idea. You can deal with unpredictable debris and splits and even viral infections in the process of looking for a way to tighten the seat.
The procedure of tightening the toilet seat
Step 1: Once again, carefully check the toilet
For example, recheck the seat hinge. There are some hidden buttons and you may not notice the bottom channel. You’ll get them there eventually. Press the button, then the lid should be released, which will reveal the fixing screws and bolts.
There is also a toilet seat with a special lid, you may have to slide it to the side or pry it up to look accessible. This is to protect the fixing bolts from water and foreign bodies that can degrade the locking mechanism. You, uh… Check carefully to detect the cover.
This is mainly used for the installation of toilets on the wall rather than on the floor. The hole for tightening the seat is located on the same side, connected to the wall with a bolt connecting the toilet to the wall, which makes it impossible to find access to the bottom if you do not remove the whole thing.
Step 2: Realign the seats
But before you try to tighten the bolts, you will need to adjust the seat. Since the seat loosens, it is possible that the seat is not aligned, you need to move it back to the center of the toilet. Several clips can be used to assist you in this process. When you are satisfied that the seat is in the correct position and rest evenly on top of the container, then proceed to the next step.
Step 3: Tighten the screws
It is better to use a screwdriver suitable for the head, not too small, not too small. Inappropriate screwdriver heads make the bolt more difficult to tighten and damage the bolt thread and shorten its overall service life. Tighten the screw until you can no longer screw it.
In this case, use pliers to fix the nut in place, while tightening the bolt with a screwdriver. The wing of the nut will lock the bolt, not allowing you to now just hold the bolt tight until your seat no longer moves forward after each tap.
Step 4: Check the tension and close the lid
But you still need to do some last-minute checks. Lightly tap the bolts to see if they move so you can be sure of the tension. Under the lid, see that there are obstacles, if not, then you are already here. Now you can use the toilet without having to support the rocking seat.
Conclusion
That’s the end of the tour guide, it’s easy to follow, right? The use of the toilet is very frustrating, and the loose seats constantly moving places. It is even more frustrating when you can not find the channel at the bottom to tighten the seat bolt. Step accurately and your seat will be like the first when you take you home.
Enjoy the guide? Then please send it as, share it with your friends and comment on the interaction with us
You May Like: Installation of a New Construction Toilet | Hands On Guide & Plumbing Tips