

You only have one chance when it comes to grouting, so you need to get it right. After your tiles are installed in a perfect chevron or grid pattern, it’s time to finalize the tile work with grouting. You can also replace your old grout with a new one if things have started to look a bit dirty. So, if you want to know how to grout shower tiles, read on and learn what you need to know before grouting.
Even though grout is not the most luxurious material you will use in a renovation, it still plays a huge role in the final look of your tile project. With a wide range of colors to choose from, grout can be used to create a sleek single-shade space or add contrast.
Let’s dive right in!
Contents
- 1 Why Grouting Shower Tiles Is Important
- 2 What You’ll Need To Grout Shower Tiles
- 3 Step-By-Step Instructions On How To Grout Shower Tiles
- 4 How To Mix Grout for Your Tiles
- 5 How to Apply the Grout
- 6 Allowing the Grout Time To Dry
- 7 Removing Any Excess Grout With a Sponge
- 8 Removing the Haze off the Tiles
- 9 Sealing the Corners
- 10 How To Grout Wall Tiles in Shower
- 11 How To Grout Floor Tiles in Shower
- 12 How To Clean Shower Tiles Grout
- 13 Frequently Asked Questions
Why Grouting Shower Tiles Is Important
Grouting shower tiles is important as it offers a number of valuable benefits such as:
- It gives extra strength and rigidity to the tile installation
- It keeps away debris and dirt from getting in between and under your tile.
- It provides your bathroom wall or floor with a crisp finished appearance.
To sum it up, tile grout doesn’t only fill the voids but also makes your shower tiles more robust by bonding the tiles together and preventing the edges of a tile from cracking and chipping. It provides protection to your shower tiles, so you don’t need to waste money on constant repairs.

What You’ll Need To Grout Shower Tiles
Tools Required
- Utility Knife
- Tiling Sponge
- Shop Vacuum
- Putty Knife
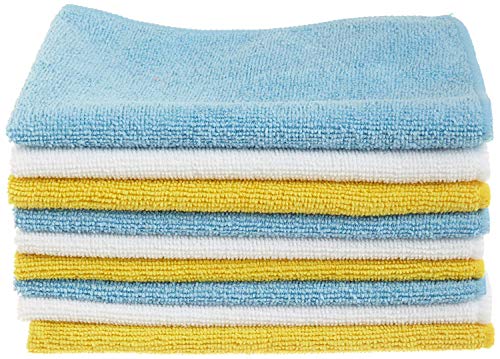
- Microfiber Towel
- Margin Trowel
- Grout Float
- Caulk Gun
- Bucket

Materials Required
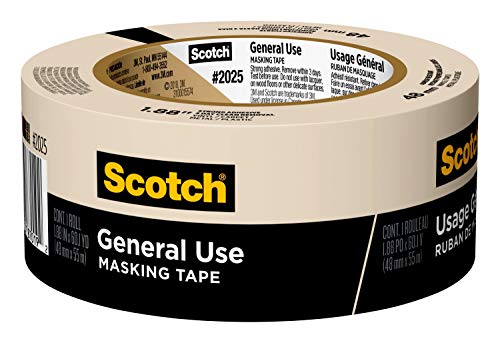
- Masking Tape
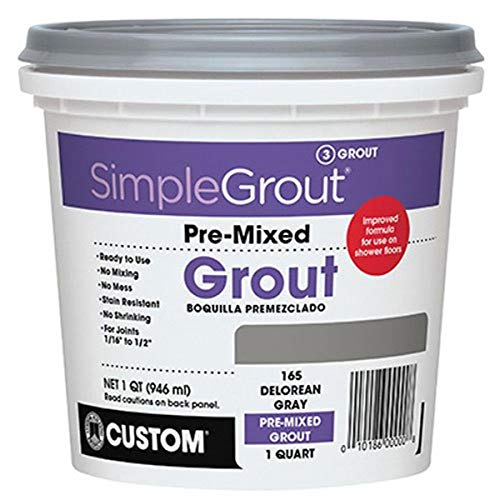
- Grout
- Caulk
Step-By-Step Instructions On How To Grout Shower Tiles
Work That Is Required Before Applying the Grout
Before anything else, make sure to read any instructions and put safety first. Yes, sure, instruction booklets sound boring, but they can help you a lot. They offer shortcuts and some quick tips.
When it comes to safety, skin, and grout don’t go well together, so if any compound spills onto your skin, make sure to wash it off before it dries. Grout hurts more than duct tape if you try to get it off.
You should wear wraparound goggles as you don’t want any in your sensitive body parts like the eyes. Do the grouting in a well-ventilated area since some ingredients in grout can be harmful when inhaled. If your bathroom has no air conditioning, fans, or windows, wear a breathing mask while working.
Select the Right Tile for Your Shower
Choosing the right tile for your shower will affect all the steps as well as the grouting material you’ll use. For instance, natural stone and other porous tiles need sealant. This prevents your tile grout from getting stuck inside the tile pores.

When that happens, it is almost impossible to clean off without harming your tiles. In particular, glazed tiles are more sensitive to cracking and scratching, so you want to make sure that any grout you use is “unsanded grout.”
The sanded type is stronger and thicker, so it works best with tiles that have wider grouting gaps. Sanded grout is ideal for joints larger than ⅛ inch.
As you are inspecting the tiles, check their levels. You want them to be smooth and flat, without any lippage or protruding tiles.
Inspect the seams, and if there’s any leftover thin-set, scrape it off slowly with a palette knife. Be gentle, so you don’t crack the tile in the process.
Prepare the Walls by Pre-Cleaning Them
This step eliminates any surface dust or dirt. If you don’t get rid of dust or dirt, it will preclude the grout from evenly lying on your tiles.
This can cause air pockets and bumps that look unaesthetic and make it easier for the grout to scrape off accidentally. Allow the water to dry before starting.
Select the Correct Grout and Sealant Color
You want something that will make your shower tiles attractive, so you need to pick something with a pleasant contrast or the same shade. Some owners prefer epoxy grout because of its high strength and chemical resistance.
Aside from grout, you should apply a grout sealer or silicone sealant or a bead of caulk at the corners and edges. The sealant must be the same color as the grout.
Some pros say that you mustn’t apply grout to the shower edges or corners. But at the same time, some experts say it’s okay as long as you cover the grout with a sealant to strengthen the joint.
Regardless of which side you are on, be careful when working with those edges. It is easy to cut yourself on the sharp corners of your tiles. You must also be cautious while grouting the areas around your faucets and shower heads.
Those tiles have sharp corners too, as well as unexpected angles and curves. Take extra precautions as you can easily get knick your fingers or get grout stuck on the faucets and spouts.
How To Mix Grout for Your Tiles
If you’re using liquid grout, you don’t need to worry as it comes pre-mixed and ready-to-use. Now, if you are using powdered grout, you need to mix it yourself.
Just shake the bag to dry-blend the powdered grout, which spreads its color more evenly. You can also decide to mix your grout powder with liquid additives or water.
Some good examples of additives are grout boost, grout enhancer, and grout maximizer. These additives strengthen the color and reduce stains. Grab a mixing drill or a trowel to make your grout.
Blend for two to five minutes until you achieve the right texture, which is some people describe as thick peanut butter or mayonnaise.
Tip: Be sure not to “over-mix the grout!”
The longer you mix, the more air bubbles will get infused into the grout. Stir your grout twice, then pause for 10 to 15 minutes between mixes. This pause is known as “slaking.” It’s a process that holds your grout mixture together.
How to Apply the Grout
Applying grout is easy. First, grab your grout float, then lay the grout onto the tiles at an angle. Grouting at 45 degree prevents your grout float from being stuck in the tile joints. It also guarantees your grout is filled solidly into the tile joints.

Tip: Grout dries and sets in around 30 minutes, so you should work in quick small sections.
Some homeowners prefer to only grout the joints and seams, and this works with larger tiles. Meanwhile, some people would rather grout the entire shower wall. You should choose the style that works best for you. Swipe the grout over the tile many times. The first few swipes will apply the grout, and the rest will get rid of the extra grout.
Allowing the Grout Time To Dry
It should take between 20 to 30 minutes for your grout to be fully set. If you are not sure, simply press the grout delicately with your finger. It is already dry enough if your finger stops leaving dents in the grout.
At this point, use your finger or a grout finisher to smooth out the seams.
Again, be careful when dealing with corners.
Removing Any Excess Grout With a Sponge
Soak a sponge in clean water, then squeeze it out. You would want the sponge damp but not dripping since excess water could cause efflorescence in your grout.
This means the water will pull the salt and mineral deposits to the surface of your grout, which leaves unattractive flaky sediments on your tiles.
Lightly sponge the tiles, holding the sponge flat against the tile surface. Don’t scrub or press since this might scrape off the grout. Rinse the sponge after every couple of swipes, and change the water if it looks unusable anymore.
Reminder: Don’t ever dump your used water down the sink as it could cause unpleasant clogs.
Perform a few sponge swipes, allowing the wall to dry between rinses. While waiting for the tiles to dry, inspect if there are any gaps or holes. If you spot some, apply a bit of grout on your finger to refill the gaps.
Tips: You can use a flashlight to check for possible holes as holes won’t reflect the light.
How Long Leave Grout Before Wiping?
Allow the grout to set between 15 to 30 minutes, then wipe up the excess grout using a dense grout sponge soaked in water. If it looks like it’s going to take you longer than 30 minutes to grout all of your tiles and get prepared for the cleanup, you may need to work in smaller sections.
Removing the Haze off the Tiles
After your grout has set, which can take about three hours, you’ll most likely notice a thin white film on your tiles. This is known as grout haze, and it must be removed. So long as you’ve not waited longer than three hours, you’ll be able to clean any excess haze. Just grab a strong paper towel or soft microfiber cloth to wipe off this haze, and you’re good to go.
Sealing the Corners
Applying sealant to your grout provides additional waterproofing. Additionally, it also safeguards the shower wall and floor under your tile since the tiles themselves can shift during normal use.
This movement could be caused by a few things such as shower steam buildup, natural shifts in the earth, or extreme temperatures.
Simply put a waterproof tape on either side of the edge, then use a sealant gun to cautiously apply a bead of sealant on the corners and edges.
You can also put sealant where the tiles meet the section of your shower floor or wall without tiles yet. Or where your tiles meet your shelves, niches, or shower caddy.
How To Grout Wall Tiles in Shower
Step 1: Prepare the materials and make sure that the grout you’ll use has anti-mold properties.
Step 2: Inspect the tile joints and check if there’s any surface adhesive that needs to be removed. You should also check that all the hard spaces are back from the surface of the tile so they won’t show through after the grouting.
Step 3: Now, it’s time for the actual work. Grab your grout float to apply the grout. Use a trowel or scraper to transfer some of the ready-mixed grout to the grout float and spread it across the task working it into the joints.
Step 4: Work the grout into the tiles at a 45-degree angle since this will pick up most of the remaining grout from the top of the tiles while doing the task.
Step 5: Use the edge of the grout float to clean the surface of the tiles as you go. Do the task at a steady pace since the grout will begin to set within 20 to 30 minutes.
Step 6: Wipe the grout float diagonally across the tiles to avoid dragging the new grout lines. Be sure you completely fill the grout joints in order to prevent cracking or shrinkage. Continue like this until you’ve all filled up the joints.
Step 7: When the grout is in place, clean off any excess grout using a wet but not too wet tile sponge. If, when cleaning, you accidentally remove any grout, just grab your grout float or use your finger to fill the gap.
Step 8: Allow the grout to set for at least 20 minutes, and then use a grout finisher to smooth the joints and give a good appearance. Pull the rounded end of your grout finisher over the joints in an even continuous movement.
Step 9: As your grout dries, a powdery film will appear on the tiles. After around two to three hours, when the joints are dry, you can use a soft clean cloth to remove the powdery film. This should leave your tiles sparkling.
Step 10: Finally, you must seal the gap between the tiles. It’s ideal to use sanitary-grade silicone sealant.
Step 11: Be sure that the sealant tube nozzle is cut at a slight angle to give the right size hole.
Step 12: Begin at one end of the tray and move along each edge in one continuous movement while maintaining a steady pressure and speed. Use a sealant shaper if you want to polish the sealant.
Tip: Use masking tape when sealing the grout to have a neater finish
How To Grout Floor Tiles in Shower
Step 1: Similar to grouting wall tiles in shower, you need to prepare the materials first for grouting floor tiles in shower. And be sure to choose a grout that has anti-mold properties.
Step 2: If you are grouting a small floor, mix the amount you will need for the entire floor. But for larger floors, mix in batches and grout smaller sections one at a time.
After the grout is mixed, the clock will start running, and the grout can set before you’ve had enough time to apply it and clean it.

Tip: Always follow the mixing directions on the grout bag.
Step 3: The final consistency must be easy to spread but not runny. In order to fully fill the joints, work the grout float diagonally, both directions as you work along the floor.
Step 4: Once you fill a section, do a final wipe over the joint to even it out. Don’t put too much force, or you could carve the grout out of the joint.
Step 5: The grout should be set over the next 30 minutes or so. You are ready to start the cleaning process if you can press on the joint and the grout doesn’t stick to your finger.
Step 6: Now, soak a sponge but not to the point that it drips. Apply medium pressure and work the surface to loosen the grout haze and then to shape the joint. You can apply a little grout as necessary to fill some voids or low spots.
Step 7: Clean the grout sponge as needed, but don’t worry about leaving a bit of grout haze on the surface for now.
Step 8: When you are satisfied with the look of the joints, sit back and wait for the grout to dry up again. This should be faster this time. But now, you would want a harder and drier joint before proceeding.
Step 9: Using your fingers, check the grout if it’s hard enough. If it is, it’s time to start the final clean-up. Grab your sponge again and clean water, then work the surface to loosen the grout film.
Step 10: Rinse and wring out the sponge. Lay it flat on the tiles and pull it gently across the surface at a diagonal to the joints, flip it over, and repeat.
Step 11: Rinse out the sponge again and continue until your floor is done. You will never remove all the grout haze with one cleaning. So once the grout has dried completely again, get rid of the last haze using a damp microfiber towel followed by a dry one.
Reminder: Expect some elbow grease when grouting, but with the correct methods and a steady and consistent pace, you’ll get a good-looking output that will last a long time.
How To Clean Shower Tiles Grout
There are many ways to effectively clean shower tiles grout. It’s up to you which one to try.
- Scrub dirty grout using a stiff-bristled brush and plain warm water. Just spray warm water on the grout lines and scrub in a circular motion, allow it to dry, and you’re done.
- Spray with equal parts warm water and vinegar for several minutes. This mixture is perfect for mild stains and heavier dirt. Simply fill a spray bottle with a half-and-half solution of warm water and vinegar. Then spray on the grout, let it sit for at least five minutes, then scrub the area with a stiff brush.
- Use baking soda paste and spray with vinegar. Just cover grout lines with the baking soda paste, then spray on the vinegar. After the mixture stops foaming, scrub the grout with a brush and rinse with plain water.
- Apply some hydrogen peroxide. Mild stains may require you to use hydrogen peroxide. You can mix it with baking soda and make a paste, or just apply it as it is.
- Use oxygen bleach for up to 15 minutes. For super grimy grout and tougher stains, it’s best to use oxygen bleach. Some brands that we highly trust include Biokleen Oxygen Bleach Plus, Clorox OxiMagic, and OxiClean. Just follow the instructions on their product label, and you’re good to go.
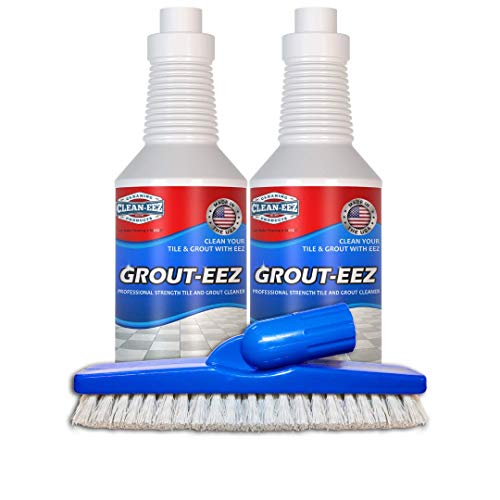
- Resort to commercial products. One of the best grout cleaners out there could do quick work of getting rid of mildew and mold and restoring those bright grout white lines. The Grout-EEZ is one of our favorites when it comes to commercial products. Just follow the directions on its label, and you’ll be able to effectively clean your shower tiles grout.
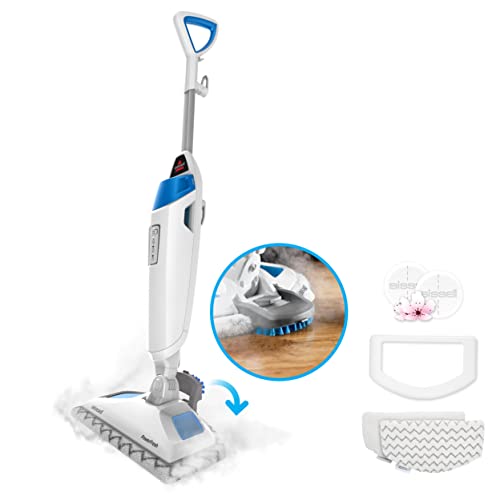
- Use steam mops. If you want an environmentally friendly but effective method of cleaning grout, you can use some of the best steam mops out there, such as the BISSELL Steam Mop. It’s easy to use and highly effective for cleaning grout!
Frequently Asked Questions
How To Clean Shower Tiles Grout
Technically yes. But it doesn’t make sense because the old grout might have already deteriorated. And adding a second layer of grout will just be a waste of money and effort if the old one is not in good condition. If you want quality and long-lasting grout, start completely fresh. Furthermore, if the old grout is dirty, the new layer might not be able to bond.
How Do You Tile Corners of a Shower?
The corners of a shower are easy to tile as the process is just the same for wall tiles. The objective when planning the layout of the shower sidewalls is to avoid narrow slivers of tile on both sides of the corner. With larger tiles, you should make it look as if the tile bends or folds around the corner.
Should I Grout the Corners of My Shower?
No, you don’t grout the corners of your shower, but it’s important to use caulk instead.
Grout doesn’t hold up well in corners and is prone to falling out and cracking. This is due to the fact that the tiles on the two perpendicular walls contract and expand with temperature changes.
Grout won’t be able to flex to match these changes, which can lead to cracked grout in corners.
Meanwhile, silicone caulk ensures crack-free shower corners and gives a flexible waterproof seal.
Do I Need To Remove All Old Grout Before Regrouting?
You don’t really have to remove all the old grout before regrouting. However, removing grimy grout on the surface provides the new grout something to which to hold onto. After all, grout is primarily cement (which is why it is sometimes called cement grout).
Can You Add More Grout Later?
If the “later” means no more than five minutes, then you can add more grout. However, if you mean grout after several hours have passed, no, you can’t put new grout over the old grout.
Do I Need To Grout Twice?
Grout might shrink while it’s drying, and you may observe some grooves that have tiny gaps at the edges. If you notice these, you must repeat the application step. Don’t worry, because it’s actually normal to do this twice.
Last update on 2022-10-30 / Affiliate links / Images from Amazon Product Advertising API