
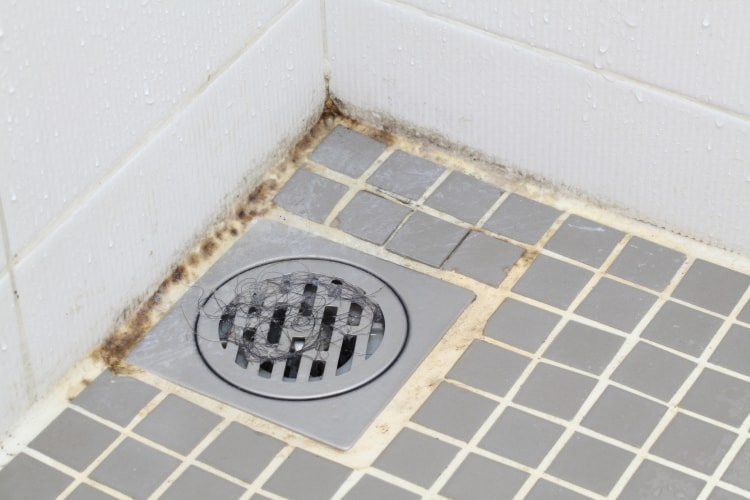
Mold can be a big issue for homeowners. It thrives in dampened environments and often spreads quickly. If you notice mold in your bathroom or other damp areas, it’s important to take action as soon as possible as it can cause respiratory problems and allergic reactions, especially for people with allergies or asthma. Here are some simple steps to follow to remove mold from shower caulking.
Step 1: The first thing you want to do is gather all the necessary basic supplies which include, vinegar, toilet paper, vinyl gloves, bleach, and a mask.
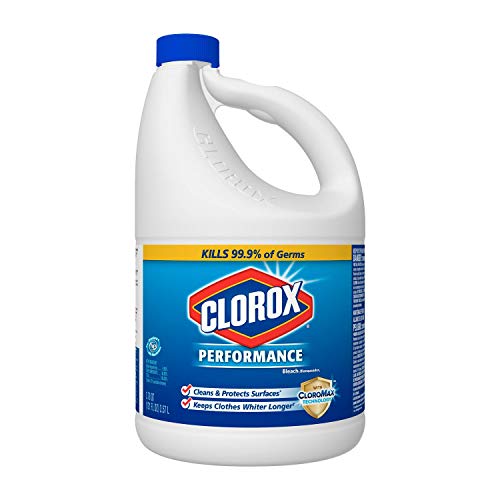
Step 2: For these simple steps, we’re going to use chlorine bleach. So, make sure to open nearby windows for better ventilation. Then wear your vinyl gloves and mask. Now, get the bleach and pour it directly onto the mildew. Next, roll up toilet paper into a thin piece so you can place it on the silicone caulk. The toilet paper will prevent the bleach from evaporating and will keep the bleach where it needs to be.
Step 3: Keep this set up overnight or for 12 hours. We suggest you do all these steps in the morning so you can open the windows all day since bleach is quite strong.
Step 4: Finally, remove the toilet paper, and you should see that the mold is gone.
But if some mold is still there, it most likely penetrated the silicone caulk surface. In this case, you have two options. First, use vinegar to finish the job as it will eliminate the root of the problem because it is acidic. Just put vinegar in a spray bottle and spray the area that has mold.
The second option you have is to replace the old caulk with a new mold-resistant caulk designed for bathrooms.
Read on as we’ve prepared an in-depth guide on how to remove mold from shower caulking using various effective methods.
We’ve also included some tips to prevent mold from creeping into your shower stall.
Contents
What Is Mold?
Mold, also called mildew, is a prevalent fungus that thrives both outdoors and indoors. Though mold sounds like trouble, it actually has a vital function in nature. Mold helps in decomposing leaves, trees, and plants.

However, when mold gets into your home, it’s an entirely different story. From being essential, mold becomes a problem. It’s not only unpleasant to the eyes when taking a shower, but it’s actually dangerous to one’s health.
But why does mold like your shower instead of your sunny bedroom? The answer is simple. Mildew grows and flourishes in moist, dark areas, making your bathroom the perfect environment for mold to thrive.
Shower mold can creep in different areas. You can find it growing on your drains, grout, fixtures, showerheads, ceiling, and caulk. If there are damp and dark areas that are not adequately maintained in your house, mold will most likely appear.
What Causes Mold to Form In the Shower?
Mildew can stay alive even in extreme environments. Mold spores are spread by air. Similar to any other organism, molds require food to thrive. In this case, anything that is organic can be food. But what molds really like is cellulose, which can form on drywall, particleboard, wood, and paper due to their cellulose content.
Aside from food, molds spread quicker when there’s low light, high humidity, heat, oxygen, and moisture. One primary reason why black mold creeps in your shower caulk is that your caulk usually retains soap scum and water, which has cellulose.
If neglected for a few weeks, black mold will start to germinate, particularly in a warm dark bathroom like a tile grout. Lack of maintenance, wet clothes, condensation, humidifiers, and leaks are typical causes of severe mold infestation.
How to Remove Mold From Shower Caulking
Replacing your silicone caulk is not always an option for everyone. If mold has become unpleasant, use some of our tips below to deal with a moldy black shower stall. Make sure to follow all instructions for each cleaning tip for your safety.
Before learning how to remove mold from shower caulking, you need to prepare the necessary tools first.
What You Will Need to Clean the Mold?
- Borax
- Bleach
- Sponge
- Vinegar
- Ammonia
- Baking Soda
- Cotton Balls
- Spray Bottle
- Vinyl Gloves
- Tissue Paper
- Spray Ammonia
- Hydrogen Peroxide
1. Spray Ammonia
Our first strategy in removing mold from shower caulking is ammonia.

Step 1: Ventilate Your Area
First of all, open the door or window as wide as possible, so you don’t inhale any ammonia.
Most likely, your shower is not the largest of rooms in your house, so we can safely assume that there’s limited airflow. If this is the case, then use a fan to circulate the air out.
A respirator is necessary for this step since we’re dealing with ammonia. A face mask is not a good alternative as it doesn’t absorb ammonia fumes.
Note: If a respirator is not an option, we suggest you move on to other methods below.
Step 2: Mix Water and Ammonia
Now, in a well-ventilated area, mix one part of water with one part of ammonia in a small container. Using a funnel, pour the solution into a spray bottle.
Step 3: Spray the Ammonia
Then, spray the ammonia uniformly on the shower caulk. If there’s more mold (particularly in the corners), just spray more. Leave the area for about ten minutes.
Step 4: Return with a Small Brush
After ten minutes, get a small scrub brush and scrub the caulk, and shower grout until you see some changes. You should see the mold coming right out.
Step 5: Dry the Caulk
To examine the result, dry the caulk using a cloth. If you missed some mold, just repeat the steps and take another break.
The caulk should be cleaned, but there might still be some mold. If you observe that the mold returns after a short while, the problem must have hidden behind the caulk, which means you need to try another method.
2. Bleach It Out
Use bleach if ammonia is not an option.
Warning: Never mix ammonia and bleach, or else they could release toxic fume that could harm your health.
Step 1: Ventilate
Begin by ventilating the bathroom and shower and then dust the area to avoid creating dirt. Remove unnecessary accessories like the shower curtain and your shower chair out of the way.
Step 2: Mix Bleach and Water
Now, mix one gallon of water and one part of bleach and stir well.
Step 3: Apply the Bleach Solution
There are three ways of applying the bleach solution onto the caulk.
Step 3.1: Using a Sponge
The first way is to use a sponge for smaller mold growths. Simply soak a sponge in the bleach mixture, squeeze it out, and scrub the caulk and the moldy grout thoroughly. Since you’re already scrubbing things, you might also want to scrub your entire shower stall including the shower door.
Step 3.2: With a Spray Bottle
If the sponge can’t get the job done, pour the bleach solution into a spray bottle, and spray the area with caulk. Wait for around twenty minutes, and then use water to rinse the area with the bleach solution. If you’ve used a sponge before spraying, you can use it to wipe the caulk.
Step 3.3: Cotton Balls
If the mold doesn’t seem to disappear, you may want to deal with the roots of the problem. Just like what you did with the sponge, soak the cotton balls into the bleach solution but don’t squeeze it.
Just place them side by side along the caulk and try to get them into the holes using a pointed object. Let them sit overnight and just remove them and scrub the caulk with a sponge in the morning.
Tip: You can respray the affected area, usually the grout with the solution one more time and let it sit for around five minutes. Rinse it, then wipe the caulk dry using a rag or paper towel.
3. Vinegar
Vinegar is probably the most effective and cheapest solution to get rid of molds from shower caulking. It doesn’t only remove the fungi from your caulk, but it literally kills the mold as well.
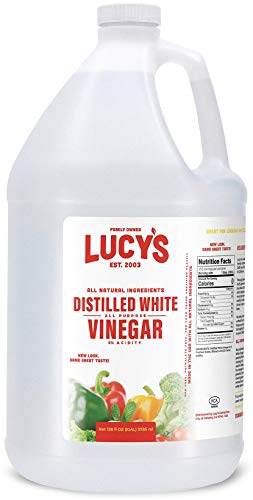
Take note that there are different types of vinegar, and what works best is a common white vinegar. It can terminate almost all species of mold. If you find the vinegar smell too pungent for you, you can mix water with it. However, you need to use more of the solution.
Getting rid of mold from the roots couldn’t be more straightforward with vinegar.
Step 1: Spray
Spray the vinegar to the area with mold and mold stains, usually in the tile grout.
Step 2: Let It Sit
Leave the area for around an hour.
Step 3: Scrub or Wipe
Wipe down the caulk with a sponge or scrub the caulk.
Step 4: Rinse
Rinse the shower and caulk with water.
Voila! You’re done!
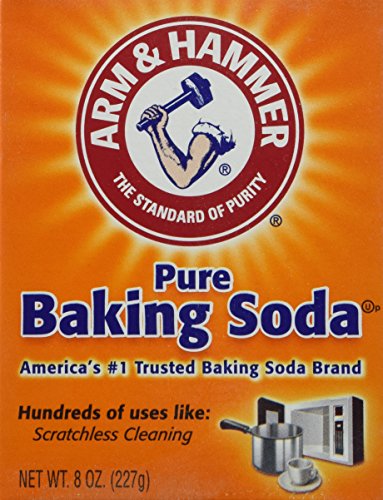
4. Baking Soda
Baking soda is another excellent way of getting rid of mold. However, keep in mind that baking soda doesn’t kill mold. Instead, it can remove the moisture from the caulk. This prevents the growth of the mold.
There are two methods of using baking soda to clean the caulk with mold.
4.1 Baking Soda Solution
Step 1: Add around a quarter tablespoon of baking soda and water into your spray bottle and shake the mixture thoroughly until the baking soda dissolves.
Step 2: Now spray the caulk and grout, and scrub it while you’re spraying.
Step 3: After scrubbing, rinse the caulk using water.
Step 4: Lastly, respray the solution, but this time, don’t rinse it.
Step 5: Just let it dry on the caulk. This should prevent the growth of mold.
4.2 Baking Soda Paste
Step 1: Add a bit of water to baking soda until it becomes a thick paste.
Step 2: Spread the paste on the caulk and let it sit there for about 20 minutes.
Step 3: Scrub the affected area until you see the mold disappear.
5. Hydrogen Peroxide
Hydrogen peroxide is another great tool to eliminate mold in your shower caulk.
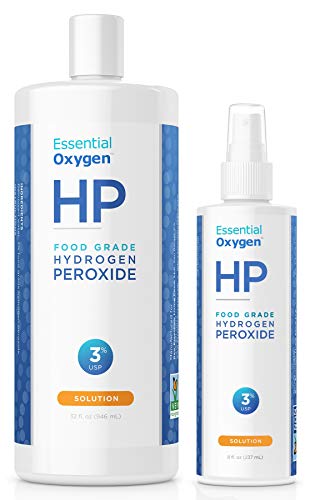
Tip: We suggest hydrogen peroxide with a concentration of 3%.
Step 1: Use a spray bottle to spread hydrogen peroxide on the caulk until it is soaked.
Step 2: Allow it to sit for around ten minutes before scrubbing it using a sponge or brush.
Step 3: Dry the area using a paper towel or cloth when done, and you should see good results.
6. Use Borax
Borax has been utilized for cleaning purposes for many decades, and it can undoubtedly aid with your mold problem.
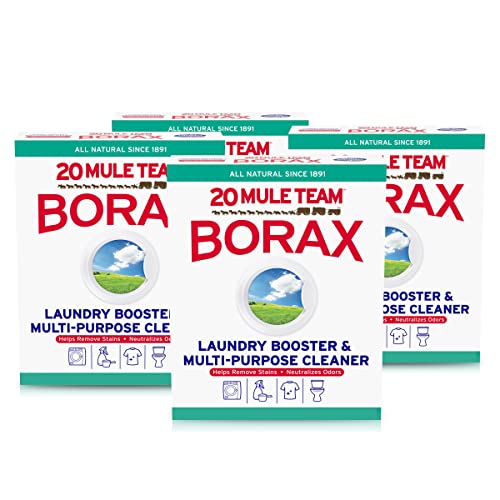
Step 1: Add ten-part water to one-part borax, and pour the solution into a spray bottle.
Step 2: Spray the borax solution onto the caulk just like what we did on the other methods above.
Step 3: Scrub the affected area.
Step 4: Finally, dry it to see the result.
7. Replace The Caulk
Now, if all the methods above didn’t work, you may want to consider replacing your caulk to restore your shower’s allure completely. Here’s how you want to replace your moldy caulk.
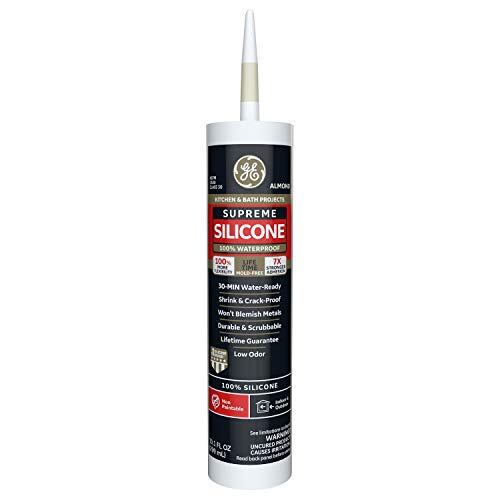
Step 1: Purchase a caulk gun and a water-proof caulk for tiles and tubs.
Fact: Silicone sealant caulks are more durable compared to latex caulk, although the latter is much easier to use.
Step 2: Apply a caulk remover gel for around twenty minutes to soften the caulk.
Step 3: Scrape off the old caulk using a utility knife.
Step 4: Put some tape over the edges of the tiles so that only the caulk is exposed.
Step 5: Cut the tip of the caulk nozzle to be as wide as the empty space for the new caulk bead.
Step 6: Apply the new caulk and get rid of the excess caulk by dipping your hand in the water and running it along the caulk line. Get rid of the tapes carefully while the new caulk is still wet.
Protecting Against More Mold: Keeping Your Shower Clean and Mold Free
Regardless if you’re just renting a house or the owner, fighting bathroom mold is necessary if you want to keep your bathroom healthy, safe, and clean. As well as to prevent damage to your bathroom’s ceilings and walls.
Every bathroom will build up humidity, which is a given. But by lowering your humidity levels in your bathroom, you can prevent surface mold from creeping in or slow down the mold’s development if they are already in.
Keeping your bathroom mold-free is actually pretty easy if you’re consistent in your cleaning. If you supplement these easy tips and tricks to your cleaning, you’ll surely be able to keep your shower clean and mold-free.
Make Sure Area is Properly Vented
Mildew likes moist places, which makes the bathroom an ideal place for growth. To get rid of excess moisture, simply turn on your exhaust fan while you are showering and allow it to operate for at least thirty more minutes after you shut off the water. This guarantees that the ceilings and walls will dry appropriately. If there’s a window in your bathroom, opening it will also help.
Routinely Clean with Vinegar
Vinegar (specifically distilled white vinegar) is one of the most effective, non-toxic, and natural mold cleaning solutions out there. The main reason why vinegar is very effective is that it’s a by-product of diluted alcohol products. It is mildly acidic and has been proven to be effective in treating more than 80% of mold species.
White vinegar is very affordable, safe, and always available at your local grocery stores. For some people, the only negative aspect of vinegar is its odor. The odor is pungent but harmless, and it dissipates fast.
Even though vinegar is very safe to use when utilizing it to getting rid of molds, you should still wear goggles, a breathing mask, and gloves to lower the body’s exposure to the mold spores.
Vinegar normally performs best on mold in its undiluted form. Just follow the instructions we discussed above on how to use vinegar on molds, and you’re good to go.
Fact: Vinegar can be safely used with other natural cleaning solutions such as salt and hydrogen peroxide. Just don’t use it with vinegar, or it will create a harmful solution.
With all these facts, we can confidently say that vinegar is a must-have in any home’s natural cleaning toolbox.
Squeegee Excess Water After Each Use
Many homeowners found using squeegee as an annoying chore, but it’s a very helpful tool if you want to prevent mold growth.

It doesn’t take a lot of time to run the squeegee on your shower walls or tub right after washing or showering. Using it reduces the moisture level in the bathroom by up to 3/4, which is a big help in eliminating mold.
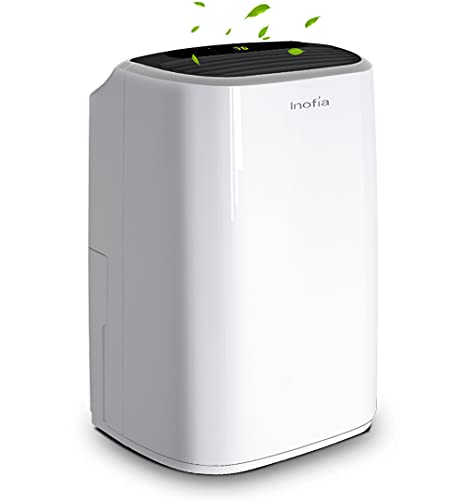
Add a Dehumidifier to Shower
If your fan is not controlling the humidity enough to stop mold growth, or you just don’t have one, then a dehumidifier is an excellent solution.
A dehumidifier can be a part of your home air conditioning system. But you can buy a portable dehumidifier for your bathroom to regulate the humidity level as well.
Fact: An exhaust fan might not be enough to keep the humidity levels down. That’s why we highly suggest you use a dehumidifier in your bathroom to prevent mold.
Because bathrooms are typically compact in size, you don’t need to get a large dehumidifier. What you need to consider is the tank size of it. It is because the dehumidifier will be extracting a good amount of moisture. But if it’s not a hassle for you to often empty the tank, you can get a dehumidifier with a small tank.
As for us, we’ve been using a 30-pint dehumidifier because it generally has a reasonably-sized tank. The best part is it features a continuous drain option.
Frequently Ask Questions:
How to clean mold behind shower caulking?
Cleaning mildew and mildew stains behind caulking are pretty straightforward.
Step 1: Prepare a vinegar solution by mixing three parts warm water with one part vinegar. You can also use a solution of one cup of dawn dish detergent mixed with one cup of vinegar.
Step 2: Use a caulk remover to soften the caulk from the tub and shower tiles.
Step 3: Use a utility knife to remove the caulk once it is softened. If there is some soap scum, make sure to remove those as well.
Step 4: Search for excess mildew/mold behind tiles by removing them using a chisel and hammer.
Tip: Be careful to remove just one at a time.
Step 5: Once you spot any mildew or mold, use the vinegar solution to eliminate the mold.
Step 6: Let the area dry and apply new caulking.
Can you caulk over moldy caulk?
We don’t advise putting caulk over moldy caulk because the new caulk might not adhere to the moldy caulk. If you caulk over moldy caulk, the chances are high that you’ll just be wasting your effort and money. However, if the old caulk is mold-free, clean, and dry, you can apply new caulk over the caulk.
How to Remove Mold from Silicone Caulk?
The best approach to get rid of mold from silicone caulking is to completely remove the caulking and replace it with a new bead of caulking.
Sure, replacing the old caulk is a hassle and time-consuming compared to cleaning it. But this is the best approach to remove the mold from silicone caulk. And to completely prevent mold growth, make sure to clean the area where you remove the old caulk before applying the fresh bead of caulk.
Tip: Make sure that the area is dry before applying the new caulk.
What Are the Types of Shower Mold?
You already know what the mold in bathrooms and shower stalls looks like, but what are the names behind these annoying organisms?
Some names might be hard to pronounce, but knowing their names might be helpful for future reference.
Here are some of the most common types of mold in bathrooms and shower stalls:
- Alternaria
- Stachybotrys Chartarum
- Trichoderma
- Ulocladium
- Serpula Lacrymans
- Fusarium
- Aspergillus
- Chaetomium
- Aureobasidium
- Cladosporium
- Penicillium
The most common kind is the Alternaria. Another most common type of mold is the Stachybotrys Chartarum, which is also known as the infamous “black mold.”
What Are the Dangers of Mold in Bathrooms and Shower Fixtures?
Mildew in bathrooms may be a common thing, but the longer you neglect it, the more prone you are to health issues such as:
- Skin and eye irritation
- Lung disease and infection
- Shortness of breath
- Pneumonia
- Chronic coughing and wheezing
You need to take mold a little bit seriously as they are proven to worsen infections, fatigue, breathing problems, inflammation, asthma, and even depression.
There’s also a recent study that shows bathroom mold can increase your chances of memory loss!
Can You Use Tea Tree Oil for Bathroom Mold?
The tea tree oil is usually used to keep spiders away, but it is also one of the safest options for eliminating black mold.
The tea tree oil is a natural fungicide that can work as a cleaning product. Additionally, it has can prevent mold spores from coming back.
We hope this article has assisted in learning how to remove mold from shower caulking!
Last update on 2022-10-30 / Affiliate links / Images from Amazon Product Advertising API