

Many people are asking the question that how they can install the submersible pump in a dug well. This post is for those peoples who ask this question. To get all the details, just read our post. We will guide you by telling our best and the perfect method. Read our post as possible as the water comes out. So, follow our method to install the submersible pump in the dug well. In this method, you will learn which based on the replacement job of an old pump.
Before starting our method, you should learn about the submersible pump which is the main component of your process.
You May Like: How to Install a Sump Pump in a Crawl Space – A Step by Step Guide
[wp_ad_camp_1]
Contents
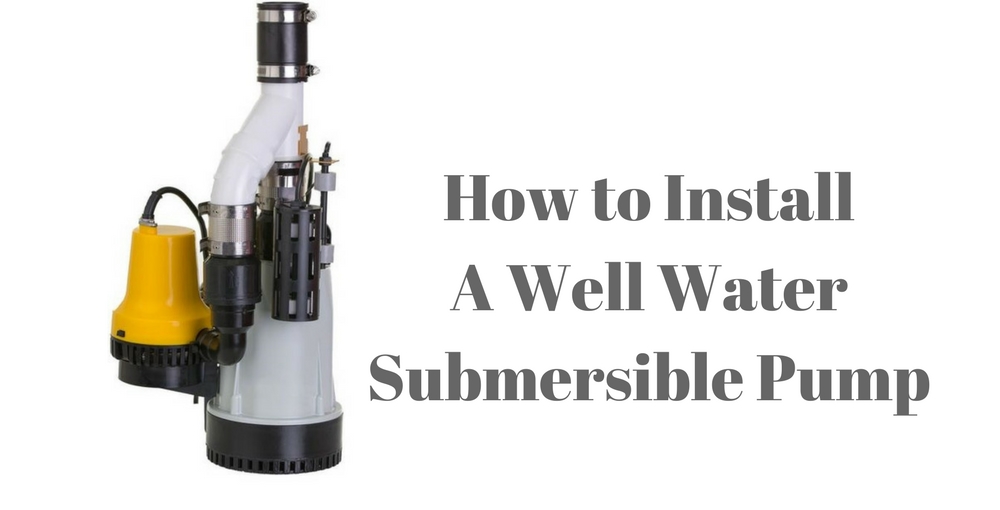
A Submersible Pump
The shape of a submersible pump is thin, long and cylindrical. A submersible pump sits about four or five feet above the bottom of a water well. It is typically 1/2 hp or 3/4 hp in size for the most houses. The main purpose of the submersible is to push the water up.
Submersible also push water into the pressure tank in the house. Typically, we use 1” or 1 1/4″ diameter pipe in a water supply. It contains a control box in which the wires travel down from surface to power a pump. The water pipe itself sides of a metal well which causing below rime line before traveling the water pipe horizontally into the building.
How Can You Lifting And Lowering The Pump?
To install the submersible pump, you can use those tools and the techniques which you used in the replacement of a bad submersible. With the metal casting, I referenced in the 143-foot drilled well. This is an exemplary installation. It also allows you to understand both removal and the replacement sides of work.
A process contains two things: a galvanized steel pipe which is a homemade tool and a pitiless adaptor (a common water well-fitting). It is the pitiless adaptor. You can also see how it did the works to the right. The half lower part of illustration is mounted through the hole which bored inside of a metal well casing permanently.
A metal well casing, exiting a casing below the timeline. In the illustration, another half of an adaptor is connected to a black polyethene pipe. This black polyethene pipe travels down near a bottom of a well, where the pump is. At this point, you should notice that how the top end of a pitiless adaptor is threaded? It only allows the T-shaped piece of 1 1/4” diameter of steel pipe yarn to be lowered into a well. It also yarned into a pitiless adaptor.
You should use the homemade tool to remove the pump and the water. Pump and water line contains separating a sliding part of a pitless adaptor up and the out of a well. It made with the 6-foot length of 1 1/4” diameter yarned pipe of steel water with the tee fitting on two handle pieces and the top in the top of a pitless adaptor, bottom end of a tool yarns into a hole. It allows you to pull it. The pipe and the pump up and out of well. It is very heavy work on the deep well because of the poly pipe filled with the water.
Protection Of Wires
It is very important to protect the wires of a submersible pump. The insulation on the wires of the pump gets inside of a metal well casing. It is not a necessity that a motor goes wrong. As you know that the pump stops and starts every time. It comes out from one hundred or two hundred feet of the pipe.
The complete installation moves in response to torsion of the motor. The insulation wears on the wires get thin after years. Because of this, it exposes the bare copper and creating the short circuit which protects the pump from running.
Do not try to use the electrical tape because it will simply thin in time. Always apply the multiple layers to protect the failure by unnecessary water. It mostly happens in February and when the temperature goes -30 degree outside.
Check The Valves (Don’t Forget)
Now check the valve splices into intake line and reliability in the two ways. First one is that, when the pump is not running, it protects water flowing back down into a well. It is eliminating the unnecessary material on a pump. Now the second, check the valve assures immediate the water flow into a tank when the pump starts.
Do not omit the check valve. Best quality items have the flap of brass inside. When they operate, they make the little clicking noise. But a large amount of water flow than silent, valve (spring activated valve).
How To Lowering The Submersible Pump
First, you start from the top of the good casing. The casing edge is usually sharp because the casing cut at the factory, and it also pays to spend the few minutes grinding off the sharp burr. So, it does not damage your pipe. You should use the plywood doughnut in a rounded inner edge shape that sits on the top of well — this simply pressure of a pipe which makes it easier to protect kinking it.
Now put the two people charge to pull the pipe at the wellhead. The third guiding top end of the pipe and the tee handle along a ground. Tie end of a safety rope on the top of the good inner cap after meshing two halves of the pitless adaptor. Complete the connections to wires eating or feeding power to a pump after that fasten the cover of outer well over everything.
Getting Water In A Mean Time
When the temperature is above the freezing outdoors, you can draw water in the tank. Now, hook up the portable electrical jet pump with a small pressure tank to get water back into the pressure system. It does not depend on the location of this tap — all the water get into the plumbing system. The plumbing system will flow back into the pressure tank in a house.
On completion of the initial test proceed to connect the required pipe work to the bore cap. Finally test pump operation and operation of pump protection devices and controls.
You May Love: How do I Fix Cloudy Hot Water Tap | Problems & Solutions | Plumber Tips